Friday night lights

Look at the tomatoes that Mom and Dad have raised! They are amazing! It’s the first of May and they are ready for the garden–but it’s still just a wee bit chilly. This evening after dark we worked on the garden sheds. Sheds? Yes, there will be two. Dwight’s idea is to borrow from the old hog sheds we had on the farm. It’s too hard to describe, so we will just have to wait for a picture.

birthin’ the baby

Well, after a relatively short gestational period, it is time to move the cabinet to its new home. Today we put the finishing touches on it–I’ll finish it with clear polyurethane later on this spring. Here we are in the in the workshop.


Thanks to Uncle Kenny, Dad, Dwight, Mark, and Luke, loading the furniture was not too difficult, although we estimate that the piece weighs about 250 pounds. Fortunately, Dad is all set up for moving large pieces of furniture. This was about like moving a piano–only slightly lighter. By the way, we don’t have any glass yet–that will also come later. We designed it so that four pieces will slip into place.

‘s-knob-bery

The most obvious element we added today would have to be the knobs. In the bigger picture below, they are just sitting on top of the doors. Eventually, they will be inset into the wood at a yet-to-be-determined depth. They will NOT be this tall. (In case you were wondering, they are cut from black walnut in order to echo the smaller black walnut plugs on the face frame.)In addition to this, we did a lot of sanding. I think I might be suffering from maple-dust lung. Next time, I plan to wear a mask.

now it’s starting to look like something!

Time for gluing all of the doors–but before we did that, we stood the cabinet up for the first time. The shims hold the doors square. It looks quite nice, if I do say so myself.

To get an idea of how the backing will look, we’ve propped up a few strips of the wainscoting. Here’s a closer look:

At each of the four corners on the face frame, we are putting decorative walnut plugs. In addition, there are three plugs on each side piece to cover screw holes. After the glue has dried, we will sand them flush with the face frame.


muntins or mullions . . . or transoms?!!!


Today we mostly worked on fabricating the doors for the unit. Before that, however, I did a little more handwork–I sawed off all four legs to the finished length. If you click on the photo, you will see the less cosmetic side of furniture building: the glue and the screw holes. The glue will be sanded away and we are planning to cover the screw holes with pine plugs made from the wainscoting that will form the back of the unit. I think the contrasting woods will provide an interesting detail; however, that means that we must be quite precise when we are drilling the holes.

I’ve done a little research on some of the terminology that we have been using. According to Wikipedia, the muntins are the wooden spacers that divide the panes of glass from one another. The are also referred to as mullions. Another link suggests (to me, anyway) that the horizontal spacers are called transoms.

Whatever the label of its parts, the doors have many pieces that must be created and then put together via tenons and mortises. The tenon is the “tongue” that sticks out. The mortise is the recessed area in which the tenon is inserted. In this picture, Uncle Kenny tapers each edge–after it has been through the router.

Take a look at the finished product (prior to sanding.)

So, the majority of the day was spent measuring, making, and placing. When I left, we had a good start on the door frames. As Uncle Kenny warned, this is proving to be the most labor and time-intensive aspect of the build.

photo bonanza!

Dwight calibrates the laser on the saw. While he was at it, he measured, cut, and glued the back legs for the cabinet.

The piece is really starting to look more like the finished project. Here we have begun laying out the doors. Plans are to mortise and tenon the corners of each of the four doors.

We are also planning to make plugs to cover a few, strategically placed screws. The plugs will be made out of the same pine wainscoting that will back the cabinet.

pine wainscoting for the back (from a neighboring farmhouse)

mockup of one of the door windows–one of . . . 30!.

the OSHA officer keeps a close eye out for any safety violations . . .

the mortising machine’s work is done–not bad.

The picture below records an epiphanic moment for me. Although it doesn’t look like much, this is one of the front legs that I tapered with a handsaw. What was the realization? Well, I loved that I could saw for a little bit, then take a break. Now, this is not a very big sawing job–even by hand–but I enjoyed myself immensely!

putting together the box

Since it is difficult to see much of the progress that has been made, I will just summarize. After gluing all of the boards, we sanded them all to the same depth, cut them to size and then cut the dados. Dados magically occur when many blades are put on the radial arm saw, while making sure that the blade is plumb, level, and whatever else. We then dry-fit the box and shelves, and then glued, “painted,” and inserted biscuits.

There is quite a bit of measuring and re-measuring that goes on. Of course, many are familiar with the tape measure, but they may not know just how much complexity is involved in its operation. I suppose the tape measure could be considered a dangerous tool in certain situations, but the beauty of it definitely lies in the marvel of engineering this tool embodies.

First, one must master the different “parts” of the implement. I have always considered myself metrically-challenged; however, I am also somewhat educated and take pride in my ability to think quickly when warranted. So, when Jeff asked me which part of the tape measure I wanted to hold, I instinctively knew which end was mine. I believe the photo below adequately conveys what I am trying to say.

[All credit goes to Dwight for explaining its operation in terms that are amazingly simple, yet effective.]

Jeff stopped by for the actually glueing of the box and Aunt Beth was immediately enlisted to help spread glue and insert biscuits on the face frame. (I am making up terminology for the different parts of the project. My apologies to woodworkers all over the world who may never had heard of some of these labels . . .)

Here is what the project (and we) looked like when I left on Thursday evening.

sanding and sandwiches

After putting in about eight hours on the first day–not including Twinkie and Klondike bar breaks–we only worked for four hours on the second day. Today it was time to do some sanding. The sander bed is 16 inches wide, and that also happens to be the finished width of the shelves.

(I am making an attempt to honor an “anonymous” request for more pics of the chap in suspenders–see comments, “the first day” post).

About break time, Uncle Kenny asked if I would like a breath mint. My first instinct is to always question his motivation, and here follows the reason why.

“Well, I’m wondering if it’s anything like your offer to me when I was about 12 years old?”

(setting switches to circa 1974)

“Hey, would you like a foxtail sandwich?'” When I replied in the affirmative on that fateful day long go, Uncle Kenny placed two foxtails in my mouth with the stems sticking out of either side.

“Are you really ready?” When I nodded, he quickly pulled on the stems, essentially leaving me with a mouthful of weed seeds.

So, I learned quite a lesson that day, and I was not surprised when his “breath mints” turned out to be . . . black walnuts.


breath mints

Above, Uncle Kenny demonstrates how we arrived at the dimensions for the architectural drawings of our “structure.”

boards and biscuits

[For this and subsequent posts, the little girl in the aforementioned fairy tale will switch to a first person narrator.]

When I arrived at 8:10 a.m., Uncle Kenny was waiting. My future rojo [red] bookcase was leaning at the end of the shop. Can you spot it? [It’s to the left of the door.] By the way, click on any of the pictures to see a larger version.

The original plan was to paint the bookcase “rojo,” but Uncle Kenny had chosen maple for the project, and it just seemed like such a shame to cover it with paint. We looked the planks over, keeping in mind the dimensions that had been so conveniently printed in the Crate and Barrel catalog.

Since the finished shelves were 17 inches deep, and the planks were around 12 inches, we had to do some gluing. Uncle Kenny said that furniture makers have been gluing boards together for centuries, so we began by getting some biscuits from the fridge . . oh, are you feeling as if the woodworking project has suddenly shifted to a baking project? I don’t believe that I have mentioned that Uncle Kenny is a recycler extraordinaire.

Biscuits are oval-shaped pieces of wood that are put into recessed areas on the edge of the plank. Their purpose is to hold two planks together end to end. In my uncle’s shop, the biscuits are stored in an old refrigerator because, well, because old refrigerators deserve respect–and so does the earth. They still have doors and shelves that serve a purpose, so . . . why not treat them with dignity and allow them to continue making contributions to society?

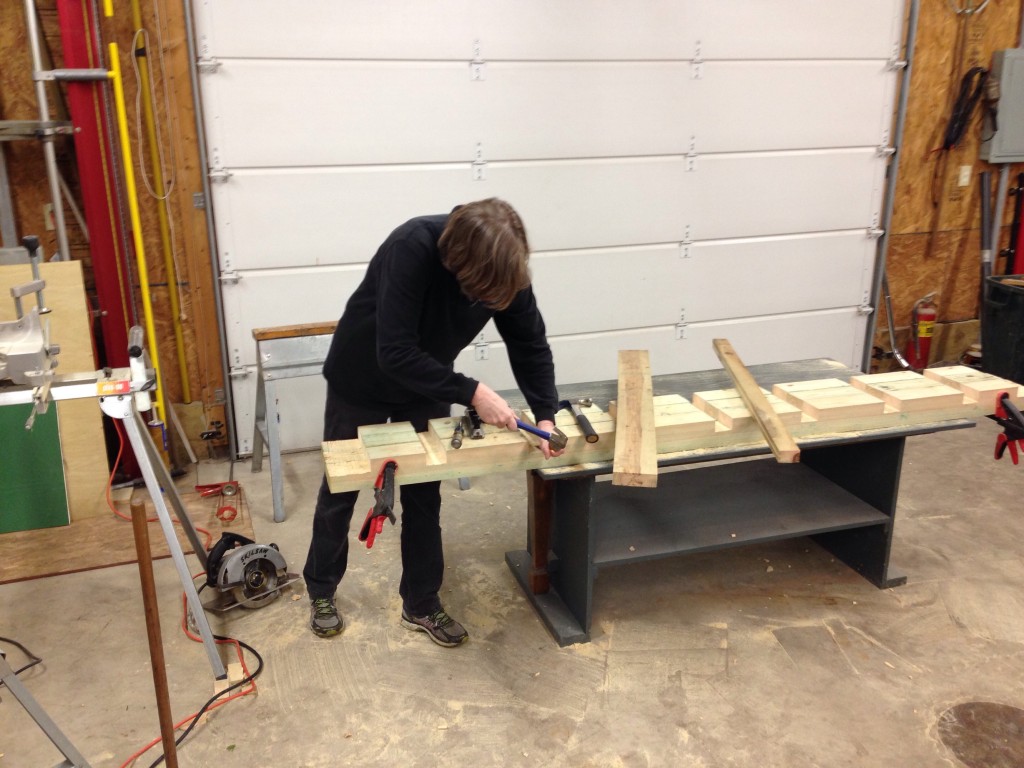
It is a little known fact from my personal history that I was a biscuit maker for Hardees; it is also a part of my life rarely acknowledged, since I lasted all of three days. However, we are talking about a different kind of biscuit-making. DeWalt makes a handy-dandy tool that seems like the least dangerous of all of the power tools I’ve had the opportunity to use in my short, but intense woodworking experience.

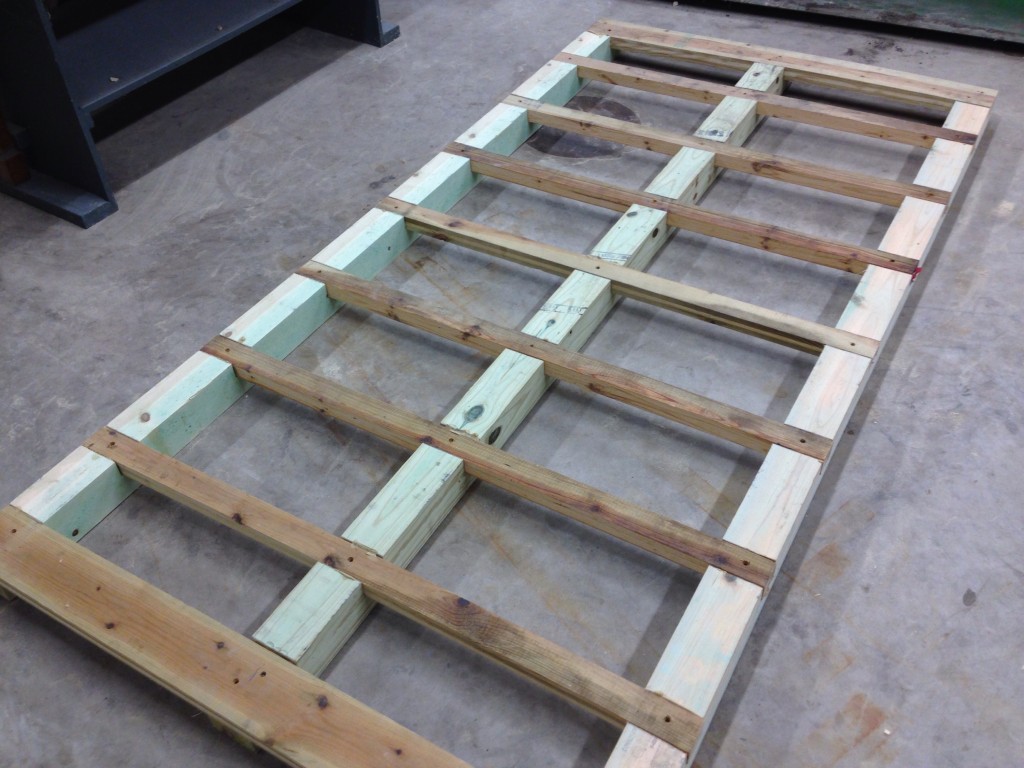
Here is what the finished product looks like. Anyway, biscuits help to join two pieces of wood together, with a little help from some glue. The boards are then glued together and clamped overnight. So, after eight hours of work, we had four shelves, the top and the bottom, and the side panels cut, glued, and clamped–more or less.